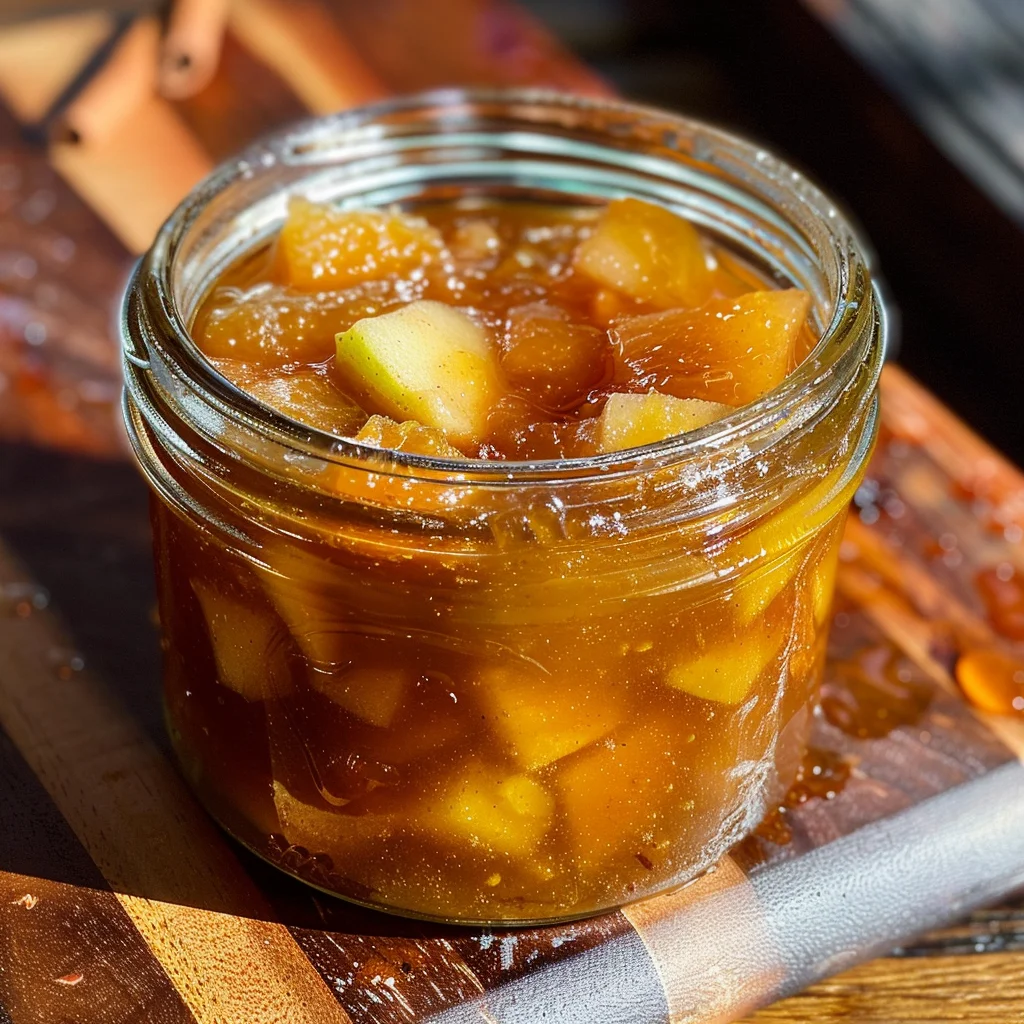
If you’re looking for a way to capture the essence of fall in a jar, then this Apple Pie Jam {for canning} is just what you need! It’s not only a delightful treat but also an easy way to preserve the flavors of autumn. Whether you’re spreading it on warm toast, dolloping it atop yogurt, or using it as a filling for pastries, this jam brings warmth and joy to your kitchen all year round. Plus, it’s perfect for family gatherings or cozy nights in!
This recipe has become a staple in my home because it’s so simple yet incredibly satisfying. The blend of spices transforms humble apples into something truly special. And the best part? You can enjoy it fresh or can it to savor those fall flavors whenever you like!
Why You’ll Love This Recipe
- Simple Preparation: With just a few steps, you’ll have a delicious jam ready to enjoy or share.
- Family-Friendly Appeal: Kids and adults alike love the sweet and spicy notes that make this jam irresistible!
- Perfect for Gifting: Canning this jam means you can share jars with friends and family, making them feel extra special.
- Versatile Uses: From breakfast spreads to dessert toppings, this jam fits perfectly into any meal.
- Seasonal Flavors Year-Round: Capture the taste of fall and enjoy it long after apple season is over.
Ingredients You’ll Need
Making this Apple Pie Jam is a breeze with these simple, wholesome ingredients. You probably have most of them in your pantry already!
- 8 cups peeled and diced apples (about 6 apples) (I recommend using Granny Smith green apples)
- 2 cups apple juice (I recommend using organic)
- 1 small lemon, zest and juice
- 1 tbsp apple cider vinegar
- pinch of salt
- 3 tbsp pectin
- 1.5 tsp ground cinnamon
- 1/2 tsp ground ginger
- 1/2 tsp ground cardamom
- 1/4 tsp ground cloves
- 1/4 tsp ground nutmeg
- 3 cups white granulated sugar
Variations
One of the things I love about this recipe is its flexibility! You can easily adjust it to suit your taste or dietary preferences.
- Add More Spice: If you’re a spice lover, consider adding more cinnamon or even a dash of nutmeg for an extra kick.
- Mix in Other Fruits: Try incorporating pears or cranberries for a unique twist that complements the apples beautifully.
- Reduce Sugar: For a healthier version, reduce the sugar by half without sacrificing too much flavor.
- Make It Chunky: If you prefer a chunkier texture, leave some apple pieces larger when dicing.
How to Make Apple Pie Jam {for canning}
Step 1: Prepare the Apples
Start by combining your diced apples with apple juice, lemon zest and juice, apple cider vinegar, and a pinch of salt in a large pot. This mixture creates the base for your jam. Bringing it to a boil allows the apples to soften beautifully while infusing all those lovely flavors together.
Step 2: Simmer Until Tender
Once boiling, reduce the heat and let your mixture simmer for about 10-12 minutes. This step is crucial because tender apples will help create that lovely spreadable texture we want in our jam!
Step 3: Add Spices and Pectin
Stir in your spices—cinnamon, ginger, cardamom, cloves, and nutmeg—and sprinkle the pectin over the top while stirring gradually. This helps evenly distribute the pectin throughout the mixture and ensures proper gelling later on.
Step 4: Bring to a Rolling Boil
Increase the heat again until you reach a full rolling boil that cannot be stirred down. Adding all the sugar at once helps create that perfect sugary syrup that glazes your fruit. Stir continuously during this time—this prevents any scorching at the bottom of your pot!
Step 5: Time It Right
Set your timer for one minute as it boils vigorously. This is where magic happens! After one minute, remove from heat. You now have delicious jam ready for either immediate enjoyment or preserving through canning.
Step 6: Jar It Up
Carefully spoon your piping-hot jam into prepared jars if you’re storing it fresh in the fridge or follow proper canning instructions if you’d like to preserve it longer. Make sure lids are sealed tightly if you’re planning on storing them!
Enjoy every last bite of your homemade Apple Pie Jam—it’s sure to be a hit!
Pro Tips for Making Apple Pie Jam {for canning}
Creating the perfect Apple Pie Jam is all about attention to detail and a few helpful tricks!
Choose the Right Apples: Utilizing tart apples like Granny Smith not only enhances flavor but also ensures a good balance of sweetness and acidity in your jam.
Use Fresh Ingredients: Fresh, organic apple juice and lemons will significantly improve the taste and quality of your jam, giving it that vibrant, authentic flavor.
Measure Pectin Carefully: Accurate measurement of pectin is crucial for achieving the right consistency. Too little pectin can result in runny jam, while too much can make it overly stiff.
Sterilize Your Jars: Properly sterilizing jars before filling them with jam prevents spoilage and ensures they are safe for long-term storage.
Check for Doneness: To make sure your jam sets correctly, use the plate test — place a small amount of jam on a chilled plate. If it wrinkles when pushed with your finger, it’s ready to jar!
How to Serve Apple Pie Jam {for canning}
This delightful Apple Pie Jam is versatile and adds a burst of flavor to many dishes. Here are some fun ways to enjoy it!
Garnishes
- Whipped Cream: A dollop of whipped cream on top of your toast or dessert adds a creamy contrast that complements the spices in the jam.
- Chopped Nuts: Sprinkle some crushed pecans or walnuts on top for added crunch and a nutty flavor that enhances the apple pie profile.
Side Dishes
- Toast or Biscuits: Slathering this jam over warm, buttered toast or flaky biscuits makes for a delightful breakfast or snack option.
- Cheese Platter: Pair it with sharp cheddar or creamy goat cheese on a cheese platter for an elegant appetizer that balances sweet and savory.
- Pancakes or Waffles: Use Apple Pie Jam as a topping for pancakes or waffles, transforming your breakfast into a delicious autumn-inspired feast.
- Yogurt Parfait: Layer your Apple Pie Jam with Greek yogurt and granola for a wholesome snack or breakfast that’s both nutritious and satisfying.
Make Ahead and Storage
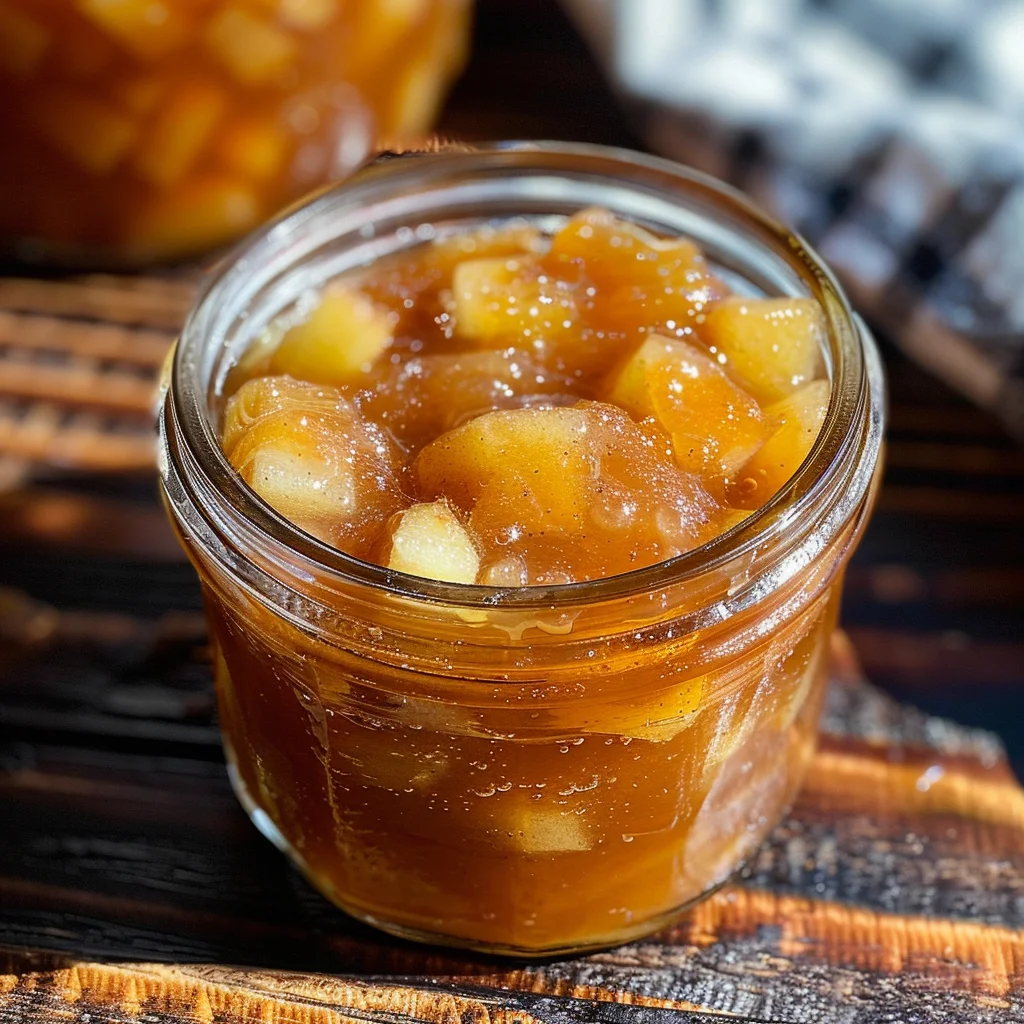
This Apple Pie Jam is perfect for meal prep, allowing you to enjoy the flavors of fall throughout the year. Here’s how to store and enjoy your jam long after it’s made.
Storing Leftovers
- Store in clean, sterilized jars with airtight lids.
- Keep in the refrigerator for up to 3 weeks.
- For longer shelf life, follow canning instructions.
Freezing
- Pour cooled jam into freezer-safe containers or jars, leaving some headspace for expansion.
- Seal tightly and label with the date.
- Freeze for up to 6 months. Thaw in the refrigerator before use.
Reheating
- If your jam thickens after freezing, gently reheat it on the stove over low heat.
- Stir occasionally until warmed through and spreadable.
FAQs
Can I use other types of apples for Apple Pie Jam {for canning}?
Yes! While Granny Smith apples are recommended for their tartness, you can experiment with Honeycrisp, Fuji, or a mix of your favorites for a sweeter flavor profile.
How long does homemade Apple Pie Jam {for canning} last?
When properly canned and stored in a cool, dark place, your jam can last for up to one year. Once opened, refrigerate and enjoy within three weeks.
Can I add other spices to my Apple Pie Jam?
Absolutely! Feel free to adjust the spice levels or add spices like allspice or nutmeg to enhance the flavor according to your preference.
Is this recipe suitable for beginners?
Yes! This recipe is straightforward and includes detailed instructions that make it easy for anyone to follow, regardless of canning experience.
What do I need to can Apple Pie Jam safely?
You’ll need sterilized jars, lids, a water bath canner or large pot, and a jar lifter. Make sure everything is clean to ensure food safety!
Final Thoughts
This Apple Pie Jam is not just a delicious treat; it’s a delightful way to capture the essence of autumn in every jar. I hope you enjoy making this recipe as much as I do! Share it with family and friends or keep it all to yourself—just know that whatever you choose, you’ll savor every spoonful. Happy canning!
Apple Pie Jam for Canning
Capture the essence of autumn with this delightful Apple Pie Jam! Perfect for spreading on warm toast or as a filling in pastries, this easy-to-make jam is a seasonal favorite you can enjoy year-round. Combining the sweetness of apples with fragrant spices, it offers warmth and comfort in every jar. Simple enough for beginners yet satisfying for experienced cooks, this recipe makes a wonderful gift for friends and family during gatherings or cozy nights in.
- Prep Time: 20 minutes
- Cook Time: 15 minutes
- Total Time: 35 minutes
- Yield: Approximately 12 servings (about six half-pint jars) 1x
- Category: Condiment
- Method: Canning
- Cuisine: American
Ingredients
- 8 cups peeled and diced apples (about 6 Granny Smith apples)
- 2 cups organic apple juice
- 1 small lemon (zest and juice)
- 1 tbsp apple cider vinegar
- pinch of salt
- 3 tbsp pectin
- 1.5 tsp ground cinnamon
- 0.5 tsp ground ginger
- 0.5 tsp ground cardamom
- 0.25 tsp ground cloves
- 0.25 tsp ground nutmeg
- 3 cups white granulated sugar
Instructions
- In a large pot, combine diced apples, apple juice, lemon zest and juice, apple cider vinegar, and a pinch of salt. Bring to a boil.
- Reduce heat and simmer for 10-12 minutes until apples are tender.
- Stir in spices and sprinkle pectin while stirring to evenly distribute.
- Increase heat to achieve a rolling boil; stir continuously while adding all the sugar at once.
- Boil vigorously for one minute then remove from heat.
- Spoon hot jam into sterilized jars, sealing tightly if canning or refrigerating fresh.
Nutrition
- Serving Size: 2 tablespoons (30g)
- Calories: 55
- Sugar: 13g
- Sodium: 1mg
- Fat: 0g
- Saturated Fat: 0g
- Unsaturated Fat: 0g
- Trans Fat: 0g
- Carbohydrates: 14g
- Fiber: <1g
- Protein: <1g
- Cholesterol: 0mg

Leave a Comment