If you’re looking for a dessert that will steal the show at any gathering, look no further than these No Bake Mini Biscoff Cheesecakes! They are an absolute delight—creamy, dreamy, and oh-so-satisfying. The combination of the velvety Biscoff cheesecake filling atop a crunchy cookie crust makes every bite feel like a special treat, perfect for everything from busy weeknights to festive celebrations with family and friends.
I love how simple and effortless these cheesecakes are to whip up. There’s no baking required, which means you can enjoy the process without worrying about the oven. Plus, they can be made ahead of time, leaving you free to enjoy your company or just kick back and relax!
Why You’ll Love This Recipe
- Quick and Easy: This recipe comes together in about 30 minutes of prep, making it perfect for last-minute dessert cravings.
- Family-Friendly: Kids and adults alike will adore the sweet and spicy flavor of Biscoff; it’s a hit across all ages!
- Make-Ahead Convenience: Simply prepare them in advance and let them chill in the fridge; they’re ready when you are!
- Impressive Presentation: These mini cheesecakes look beautiful on any table, making them ideal for parties or gatherings.
- Deliciously Indulgent: With creamy layers and a buttery base, each bite is a little piece of heaven!
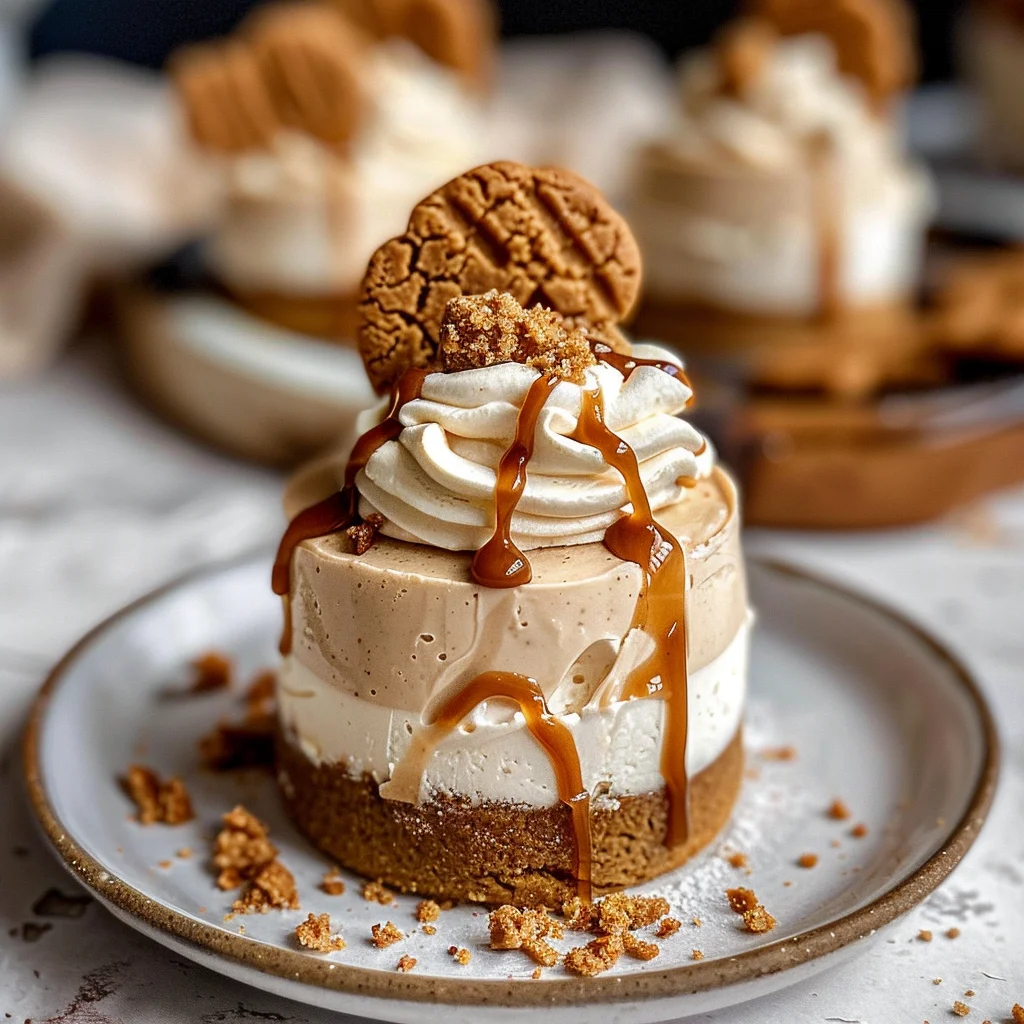
Ingredients You’ll Need
To create these delightful No Bake Mini Biscoff Cheesecakes, you’ll use simple, wholesome ingredients that pack a punch of flavor. Here’s what you’ll need:
For the Crust
- 1 (8.8 oz, 250g) package Biscoff cookies
- 1/2 cup melted unsalted butter
For the Cheesecake Filling
- 1 cup heavy cream, cold
- 3 (8 oz.) blocks full-fat cream cheese, softened to room temperature
- 1 cup powdered sugar
- 1 cup creamy Biscoff cookie butter
- 1/3 cup sour cream, room temperature
- 2 tsp. pure vanilla extract
- Pinch of salt
For Topping
- 1/2 cup creamy Biscoff cookie butter (for drizzling)
- Additional Biscoff cookies for garnish (whole or crushed)
- Whipped cream (optional)
Variations
This recipe is wonderfully flexible! Here are some fun variations to put your own spin on these cheesecakes:
- Add Some Spice: Consider adding a sprinkle of cinnamon or nutmeg into the cheesecake filling for an extra layer of warmth.
- Nutty Delight: Top your cheesecakes with crushed nuts like almonds or pecans for added crunch and flavor.
- Vegan Option: Substitute full-fat cream cheese with a vegan alternative and use coconut cream instead of heavy cream for a plant-based twist.
- Chocolate Drizzle: Melt some dairy-free chocolate chips to drizzle over the top for chocolate lovers!
How to Make No Bake Mini Biscoff Cheesecakes
Step 1: Prepare the Crust
Start by blitzing your Biscoff cookies in a food processor until they turn into fine crumbs. This is key as it creates that lovely crunchy base that complements the smooth filling. Slowly stream in your melted butter until everything is combined. The mixture should be sandy but easily hold together when pressed—it’s essential for that great texture!
Step 2: Shape Your Base
Spray two mini cheesecake pans with non-stick spray (or line muffin pans with cupcake liners). Divide your crumb mixture evenly among them—about one tablespoon per compartment—and press down firmly. Chill these crusts in the freezer while you make the filling; this helps them firm up nicely.
Step 3: Whip the Cream
In a medium-sized mixing bowl that’s nice and chilled (a tip to help it whip better!), beat your cold heavy cream using a hand mixer until stiff peaks form—this usually takes around two minutes. Be careful not to overbeat it; we want fluffy and light whipped cream that will add airiness to our cheesecake filling.
Step 4: Mix the Filling
In another larger mixing bowl, combine softened cream cheese, powdered sugar, creamy Biscoff cookie butter, sour cream, vanilla extract, and salt. Beat until everything is smooth and well combined—this is where all that luscious flavor comes from!
Step 5: Fold in the Whipped Cream
Gently fold your whipped cream into the cheesecake mixture using a rubber spatula. This step is crucial as it incorporates air into our filling while keeping it light and fluffy—no one wants a dense cheesecake here!
Step 6: Pipe It In
Spoon your cheesecake filling into a piping bag fitted with a round tip (or just use a ziplock bag with one corner snipped off). Pipe this heavenly mixture onto your chilled crusts until they’re filled evenly—smooth out the tops if you’d like!
Step 7: Chill Out!
Pop those mini cheesecakes into the refrigerator for at least six hours—or even overnight if you have time! This step allows all those fantastic flavors to meld together beautifully.
Step 8: Add Toppings
When you’re ready to serve, melt some additional Biscoff spread in the microwave until it’s nice and gooey. Drizzle this over each cheesecake; let it drip down the sides for an irresistible finish!
Step 9: Garnish & Serve
Feel free to get creative here! Top with crumbled Biscoff cookies or whipped cream to really make these treats shine before serving them up! Enjoy every delicious bite!
Pro Tips for Making No Bake Mini Biscoff Cheesecakes
Creating the perfect No Bake Mini Biscoff Cheesecakes is all about precision and a few helpful tricks. Here are some tips to ensure your cheesecakes turn out amazing every time:
Use cold ingredients: Starting with cold heavy cream and softened cream cheese helps achieve a better texture in your filling, ensuring it whips up light and fluffy.
Don’t overmix: Be gentle when folding in the whipped cream into the cheesecake mixture. Overmixing can deflate the air you’ve incorporated, resulting in a denser cheesecake.
Chill thoroughly: Allowing the cheesecakes to chill for at least 6 hours, or preferably overnight, helps them set properly, enhancing their flavor and texture.
Opt for a piping bag: Using a piping bag to distribute the cheesecake filling creates an even layer and ensures each mini cheesecake looks perfectly presented.
Experiment with toppings: Don’t hesitate to get creative with garnishes! Unique toppings can elevate the presentation and give each bite a fun twist.
How to Serve No Bake Mini Biscoff Cheesecakes
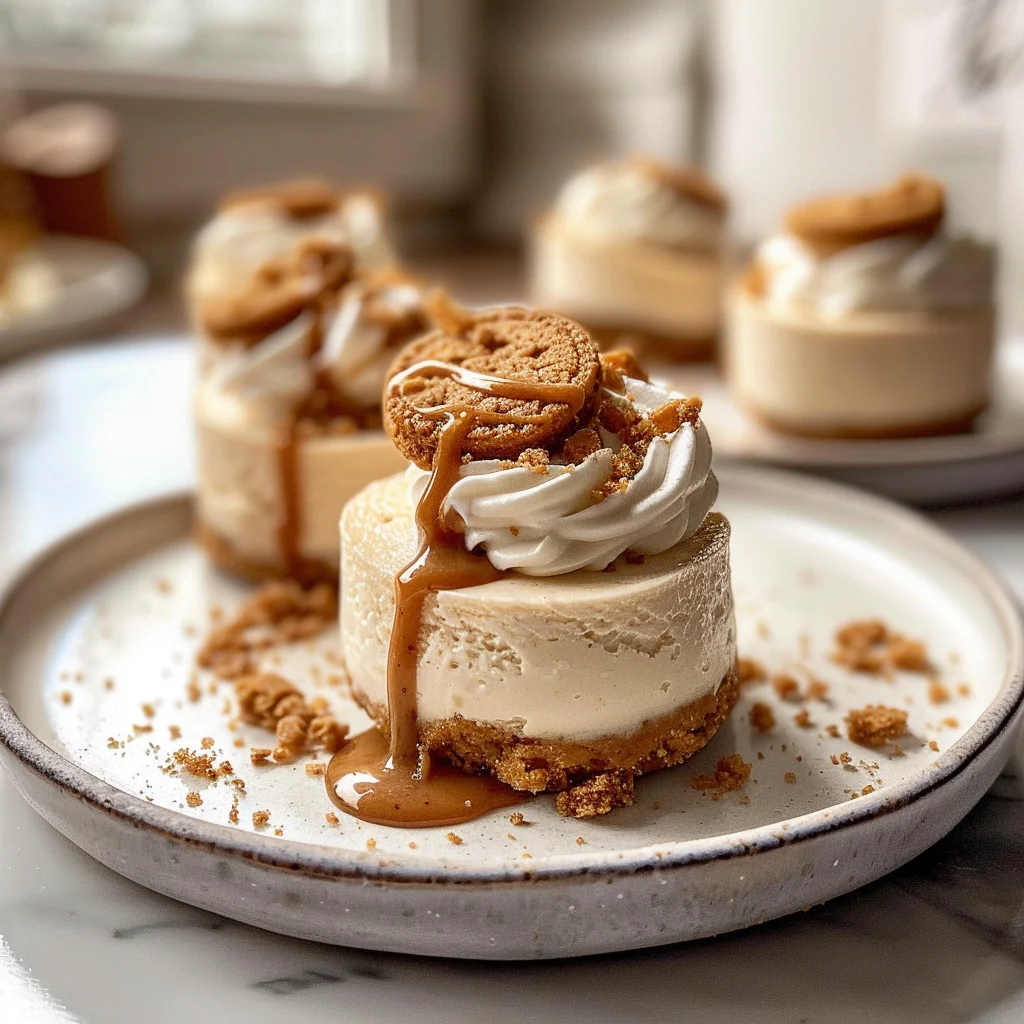
These delightful mini cheesecakes not only taste fantastic but also look stunning on any dessert table. Here are some ideas for serving them up!
Garnishes
- Crushed Biscoff cookies: Sprinkling crushed cookies on top adds extra texture and enhances that iconic Biscoff flavor.
- Whipped cream: A dollop of whipped cream on each cheesecake makes for an elegant finish that compliments the creamy filling beautifully.
- Chocolate drizzle: A light drizzle of melted chocolate can add a touch of decadence and visual appeal.
Side Dishes
- Fresh berries: Serve alongside fresh strawberries or raspberries for a pop of color and natural sweetness that balances out the richness of the cheesecake.
- Coffee or espresso: The bold flavors of coffee enhance the warm spices in the cheesecakes, making it a perfect pairing for an after-dinner treat.
- Vanilla ice cream: A scoop of vanilla ice cream provides a creamy contrast that pairs wonderfully with the spiced flavors of the Biscoff cookies.
- Fruit salad: A refreshing fruit salad can cleanse the palate after indulging in these rich desserts, adding a lightness to your meal.
Make Ahead and Storage
These No Bake Mini Biscoff Cheesecakes are perfect for meal prep, allowing you to make them in advance and enjoy them whenever you like!
Storing Leftovers
- Store any leftover cheesecakes in an airtight container in the refrigerator.
- They will keep well for up to 5 days.
- If possible, keep the toppings separate until ready to serve to maintain freshness.
Freezing
- You can freeze these cheesecakes for up to 2 months.
- Wrap each cheesecake tightly with plastic wrap and place them in a freezer-safe container or bag.
- Thaw them overnight in the refrigerator before serving.
Reheating
- These cheesecakes are best enjoyed chilled, so there’s no need to reheat!
- Just remove from the fridge, add your favorite toppings, and serve.
FAQs
Here are some common questions about making No Bake Mini Biscoff Cheesecakes:
Can I make No Bake Mini Biscoff Cheesecakes without cream cheese?
You can substitute cream cheese with mascarpone cheese or a dairy-free cream cheese alternative. The texture may vary slightly, but they will still be delicious!
How long do No Bake Mini Biscoff Cheesecakes last in the fridge?
No Bake Mini Biscoff Cheesecakes can last up to 5 days when stored properly in an airtight container in the fridge.
Can I use gluten-free cookies for the crust?
Absolutely! You can use gluten-free cookie options to make a delicious crust that everyone can enjoy.
Final Thoughts
I hope you’re as excited about making these No Bake Mini Biscoff Cheesecakes as I am! They’re not only simple to prepare but also incredibly delightful with their creamy texture and rich flavor. Enjoy creating this treat, and don’t hesitate to share it with friends and family. Happy baking!
No Bake Mini Biscoff Cheesecakes
Discover the bliss of these No Bake Mini Biscoff Cheesecakes! This delightful dessert features a creamy Biscoff cheesecake filling resting atop a crunchy cookie crust, making each bite a delicious indulgence. Perfect for any occasion—from casual weeknight dinners to festive gatherings—these mini treats are effortlessly made without the need for baking. Simply whip them up in about 30 minutes, refrigerate, and let the flavors meld together while you enjoy your time with family and friends. With their beautiful presentation and rich flavor, they are sure to impress everyone at the table!
- Prep Time: 30 minutes
- Cook Time: None
- Total Time: 0 hours
- Yield: Makes approximately 12 servings
- Category: Dessert
- Method: No baking required
- Cuisine: American
Ingredients
- Biscoff cookies
- Unsalted butter
- Heavy cream
- Full-fat cream cheese
- Powdered sugar
- Creamy Biscoff cookie butter
- Sour cream
- Pure vanilla extract
- Salt
Instructions
- Prepare the crust by blending Biscoff cookies into fine crumbs and mixing with melted butter. Press into mini cheesecake pans and chill.
- Whip cold heavy cream until stiff peaks form.
- In a separate bowl, mix softened cream cheese, powdered sugar, Biscoff spread, sour cream, vanilla extract, and salt until smooth.
- Gently fold whipped cream into the cheesecake mixture to maintain lightness.
- Pipe the filling into chilled crusts and refrigerate for at least 6 hours or overnight.
- Drizzle with melted Biscoff spread before serving and garnish as desired.
Nutrition
- Serving Size: 1 serving
- Calories: 290
- Sugar: 18g
- Sodium: 130mg
- Fat: 22g
- Saturated Fat: 13g
- Unsaturated Fat: 8g
- Trans Fat: 0g
- Carbohydrates: 24g
- Fiber: 1g
- Protein: 3g
- Cholesterol: 55mg
Leave a Comment