If you’re looking for a delicious and nutritious snack that requires no baking, you’ve landed in the right place! These No Bake Protein Balls are not only easy to make, but they also pack a punch of flavor and energy. I love making these little bites for busy weeknights or as an after-school treat for the kids. They’re perfect for any occasion when you need a quick pick-me-up or something to satisfy your sweet tooth without feeling guilty. Trust me, once you try them, they’ll become a staple in your kitchen!
Why You’ll Love This Recipe
- Quick to Prepare: With just six simple ingredients and no baking involved, you’ll have these tasty snacks ready in no time.
- Family-Friendly: Kids love them! These protein balls are not only fun to eat but also packed with wholesome ingredients that parents can feel good about.
- Perfect for Meal Prep: Make a batch ahead of time and store them in the fridge or freezer for easy grab-and-go snacks throughout the week.
- Customizable Flavors: Feel free to get creative with mix-ins or flavors—there’s no wrong way to enjoy these!
- Healthy Energy Boost: Each ball is loaded with protein and healthy fats to keep you energized and satisfied between meals.
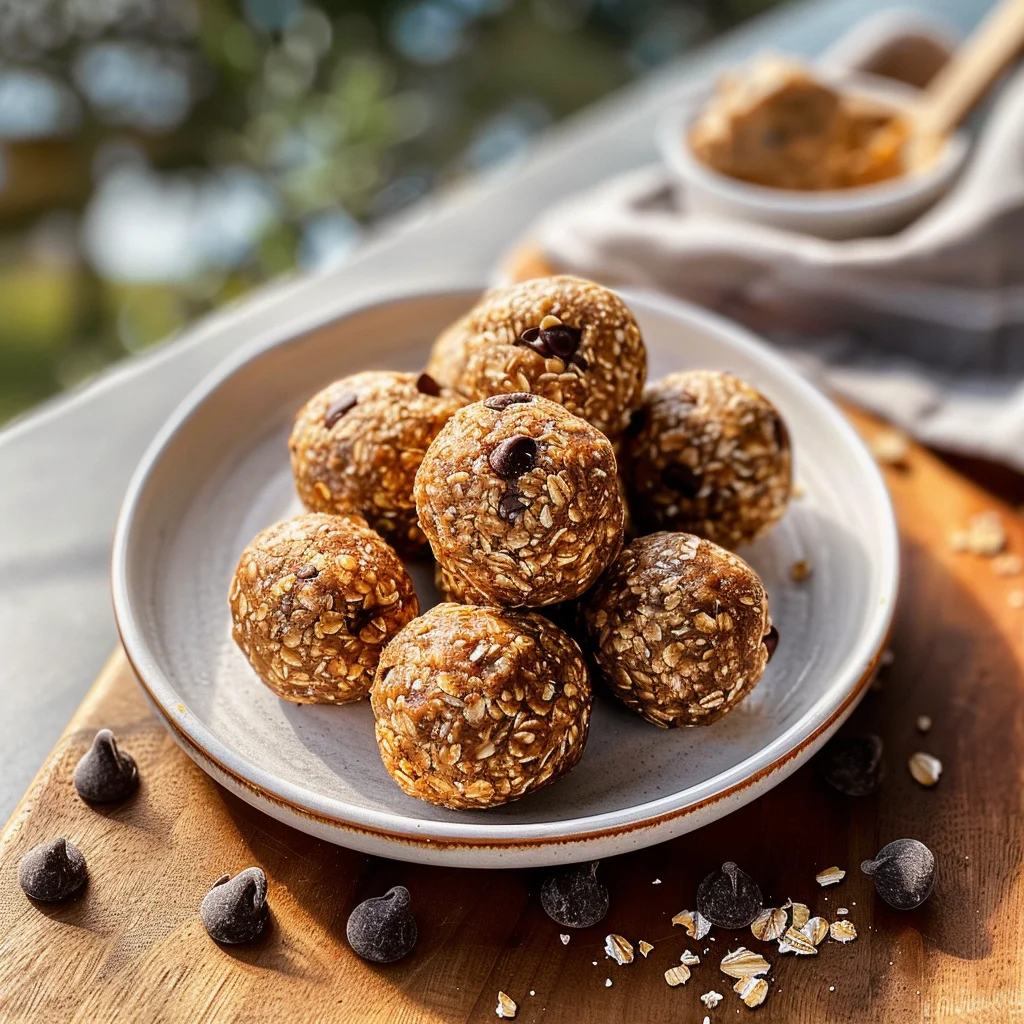
Ingredients You’ll Need
You’ll be pleased to know that these No Bake Protein Balls use simple, wholesome ingredients that you probably already have on hand. Let’s take a look at what you’ll need:
For the Energy Balls
- 1 1/2 cups no stir creamy peanut butter
- 1/2 cup honey
- 1 1/3 cups old fashioned oats (rolled oats)
- 1/2 cup vanilla protein powder
- 1/8 teaspoon salt
- 1/2 cup mini chocolate chips
Variations
This recipe is wonderfully flexible, allowing you to tailor it to your taste preferences or dietary needs. Here are some fun ideas to switch things up:
- Change the Nut Butter: Substitute the creamy peanut butter with almond butter or sunflower seed butter for a different flavor profile.
- Add Some Crunch: Toss in some chopped nuts or seeds like almonds, walnuts, or chia seeds for an added texture.
- Flavor Infusion: Try adding a splash of vanilla extract or a sprinkle of cinnamon for extra flavor oomph!
- Switch Up the Sweetness: If you prefer less sweetness, reduce the amount of honey or use maple syrup instead.
How to Make No Bake Protein Balls
Step 1: Mix the Ingredients
Start by adding the no stir creamy peanut butter, honey, rolled oats, vanilla protein powder, salt, and mini chocolate chips into a mixing bowl. Use a rubber spatula to mix everything together until it forms a cohesive batter. This step is crucial because it ensures all those delicious flavors meld perfectly together!
Step 2: Shape the Balls
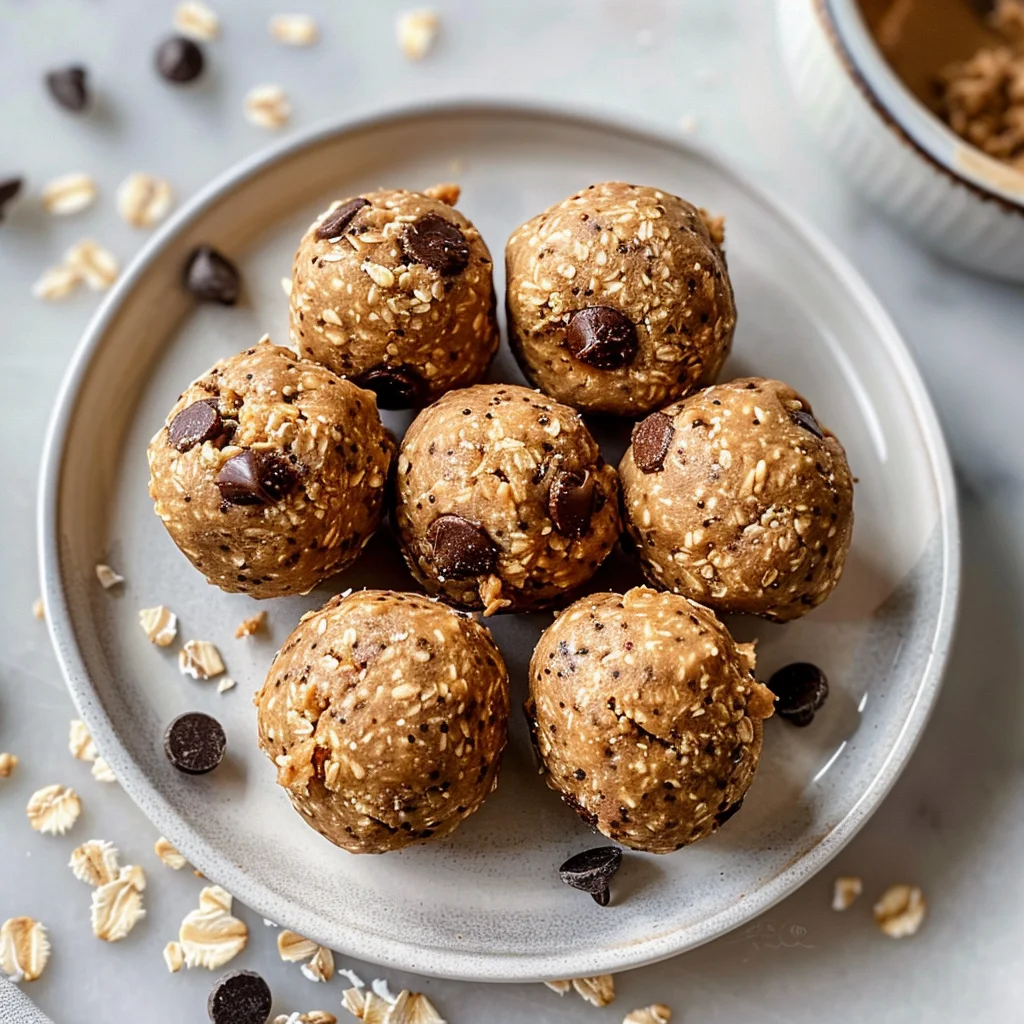
Using a mini cookie scoop or just a spoon, drop small amounts of the mixture onto a wax paper-covered cookie sheet. Aim for about one inch in size. After placing them on the sheet, roll each scoop into smooth balls with your hands. This gives them that delightful bite-sized shape we all love!
Step 3: Chill Out
Once shaped, pop the cookie sheet into the fridge for about an hour. This chilling time helps firm up the energy balls so they hold their shape better when you’re ready to enjoy them.
Step 4: Store Your Snacks
After they’ve hardened, transfer your energy balls into a Ziploc bag. They can be stored in the fridge for about a week or frozen for 2-3 months—perfect for meal prep! Enjoy your healthy snacks whenever you need that extra boost throughout your day!
Pro Tips for Making No Bake Protein Balls
Making no bake protein balls is simple, but these tips will help you achieve the best results!
- Use room temperature ingredients: This makes it easier to mix everything together and ensures a smoother consistency in your protein balls.
- Adjust sweetness to taste: If you prefer a less sweet flavor, feel free to reduce the honey or use a sugar alternative. It allows you to tailor the recipe to your liking!
- Chill before serving: Letting them sit in the fridge for an hour not only helps them harden but also enhances the flavors as they meld together.
- Experiment with add-ins: Consider adding nuts, seeds, or dried fruits for extra flavor and nutrition. This will make your protein balls even more exciting and nutritious!
- Double the batch: These energy bites disappear quickly! Making a larger batch ensures you have enough on hand for snacks throughout the week.
How to Serve No Bake Protein Balls
These no bake protein balls are perfect for any occasion, whether it’s a quick snack or a post-workout treat. Here are some fun ways to serve them!
Garnishes
- Drizzle of honey: A light drizzle on top adds a touch of extra sweetness and makes them look irresistible.
- Sprinkle of coconut flakes: Shredded coconut can add a tropical flair and enhance the texture.
Side Dishes
- Fresh fruit: Slices of apple or banana pair beautifully with protein balls, providing added fiber and freshness.
- Greek yogurt: A small bowl of Greek yogurt can serve as a creamy dip that complements the flavors well while boosting protein content.
- Nut butter: Serve alongside your favorite nut butter for dipping; it adds richness and additional healthy fats.
- Trail mix: A side of trail mix can offer crunch and variety, making it an excellent complement to these chewy bites.
Make Ahead and Storage
These No Bake Protein Balls are perfect for meal prep, making them a convenient snack option to have on hand throughout the week.
Storing Leftovers
- Store in an airtight container in the fridge for up to one week.
- Ensure they are kept separated with parchment paper if stacking to prevent sticking.
Freezing
- Place energy balls in a single layer on a baking sheet to freeze individually.
- Once frozen solid, transfer them to a ziplock bag or airtight container for up to 2-3 months.
Reheating
- These protein balls are best enjoyed cold or at room temperature.
- If desired, let them sit out for a few minutes after removing from the fridge or freezer before enjoying.
FAQs
Can I make No Bake Protein Balls without protein powder?
Yes, you can omit the protein powder and replace it with additional oats or nut flour for added texture.
How long do No Bake Protein Balls last in the fridge?
No Bake Protein Balls can be stored in the fridge for about one week when kept in an airtight container.
Are No Bake Protein Balls healthy?
Absolutely! They are packed with wholesome ingredients like oats and peanut butter, providing a nutritious snack option.
What can I use instead of honey in No Bake Protein Balls?
You can substitute honey with maple syrup or agave syrup for a vegan alternative that still maintains sweetness.
Can I customize my No Bake Protein Balls?
Definitely! Feel free to add your favorite mix-ins like seeds, dried fruits, or different types of nut butters.
Final Thoughts
I truly hope you enjoy making these No Bake Protein Balls as much as I do! They’re not only easy to prepare but also provide a delicious and nutritious boost whenever you need it. Don’t hesitate to get creative with your mix-ins and share this recipe with friends and family. Happy snacking!
No Bake Protein Balls

If you’re seeking a simple yet satisfying snack, these No Bake Protein Balls are the answer! Packed with wholesome ingredients, they require no baking and are perfect for busy days or as an after-school treat for the kids. With just six ingredients, you can whip up a batch in no time, making them ideal for meal prep and on-the-go energy boosts. Enjoy a nutritious snack that delights your taste buds without any guilt!
- Prep Time: 15 minutes
- Cook Time: 0 minutes
- Total Time: 15 minutes
- Yield: Approximately 20 servings 1x
- Category: Snack
- Method: No Baking
- Cuisine: American
Ingredients
- 1 1/2 cups creamy peanut butter
- 1/2 cup honey
- 1 1/3 cups rolled oats
- 1/2 cup vanilla protein powder
- 1/8 teaspoon salt
- 1/2 cup mini chocolate chips
Instructions
- In a mixing bowl, combine the peanut butter, honey, rolled oats, protein powder, salt, and mini chocolate chips. Mix until well combined.
- Using a spoon or mini cookie scoop, portion out the mixture onto a wax paper-covered cookie sheet. Roll each portion into bite-sized balls.
- Chill the cookie sheet in the refrigerator for about one hour to firm up the protein balls.
- Once set, transfer the energy balls to a Ziploc bag for storage. They can be kept in the fridge for one week or frozen for up to three months.
Nutrition
- Serving Size: 1 ball (30g)
- Calories: 130
- Sugar: 6g
- Sodium: 45mg
- Fat: 7g
- Saturated Fat: 1g
- Unsaturated Fat: 5g
- Trans Fat: 0g
- Carbohydrates: 13g
- Fiber: 2g
- Protein: 4g
- Cholesterol: 0mg

Leave a Comment